Pear Crochet Pattern: A Cute Amigurumi Pear
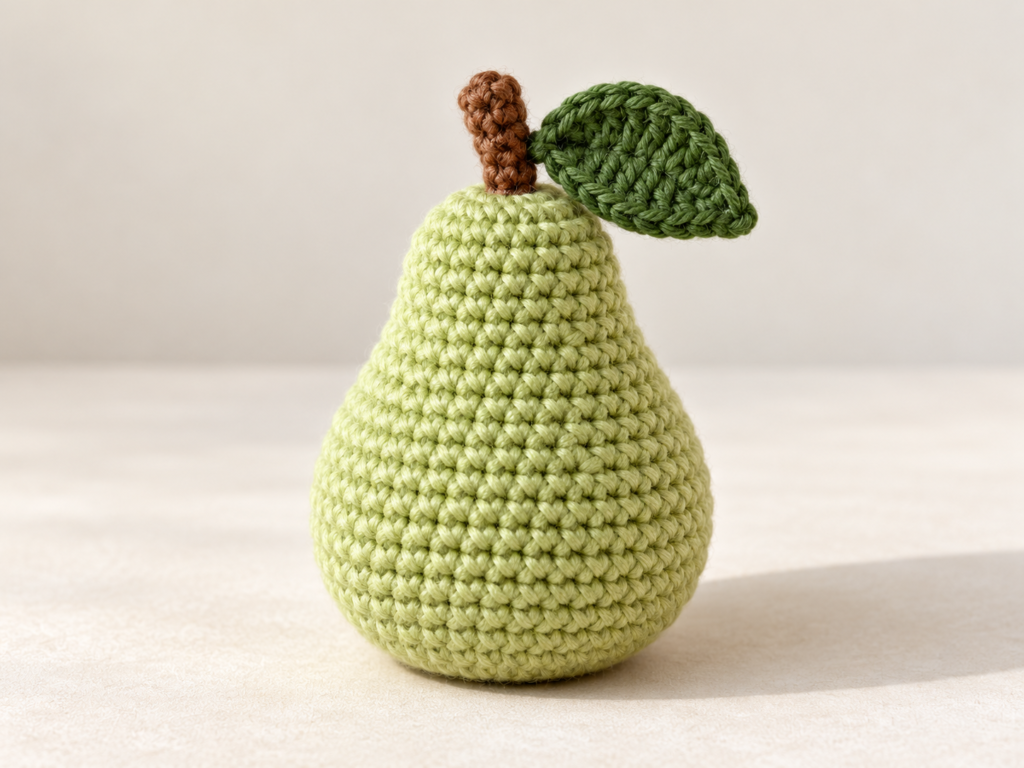
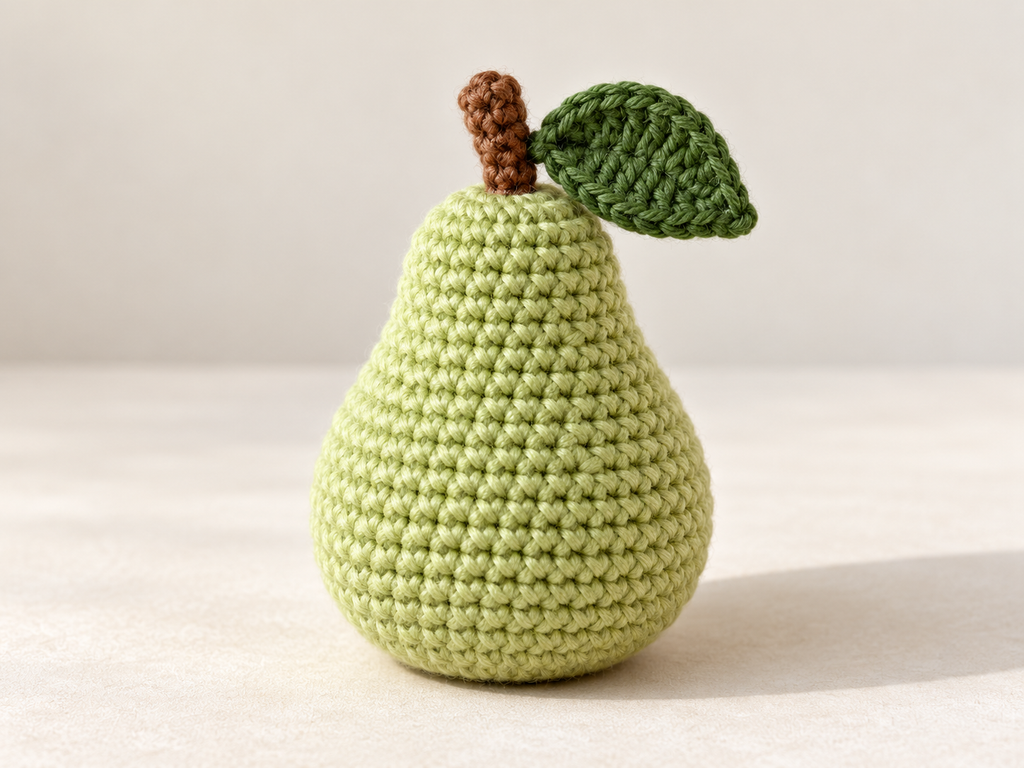
A rounded base and a narrow upper section give this little crochet pear its recognizable shape. This pear crochet pattern is worked from the bottom upward, then finished with a small brown stem and a green leaf.
Unlike a fruit shape that needs a sculpting strand, this design uses increases and decreases to create its silhouette. The body is made in one piece, with the stem and leaf sewn on separately.
Choose pale green for a classic pear, or try golden yellow for a different addition to your crochet fruit collection.
Pattern status: Untested draft. Finished dimensions, yarn requirements and the pear silhouette are pending sample testing.
Project Details
| Detail | Information |
|---|---|
| Skill level | Beginner with experience working in rounds |
| Terminology | US crochet terms |
| Construction | Stuffed body with a separately attached stem and leaf |
| Main techniques | Magic ring, single crochet, increases, decreases and sewing |
| Finished size | Depends on yarn and tension; pending testing |
Materials
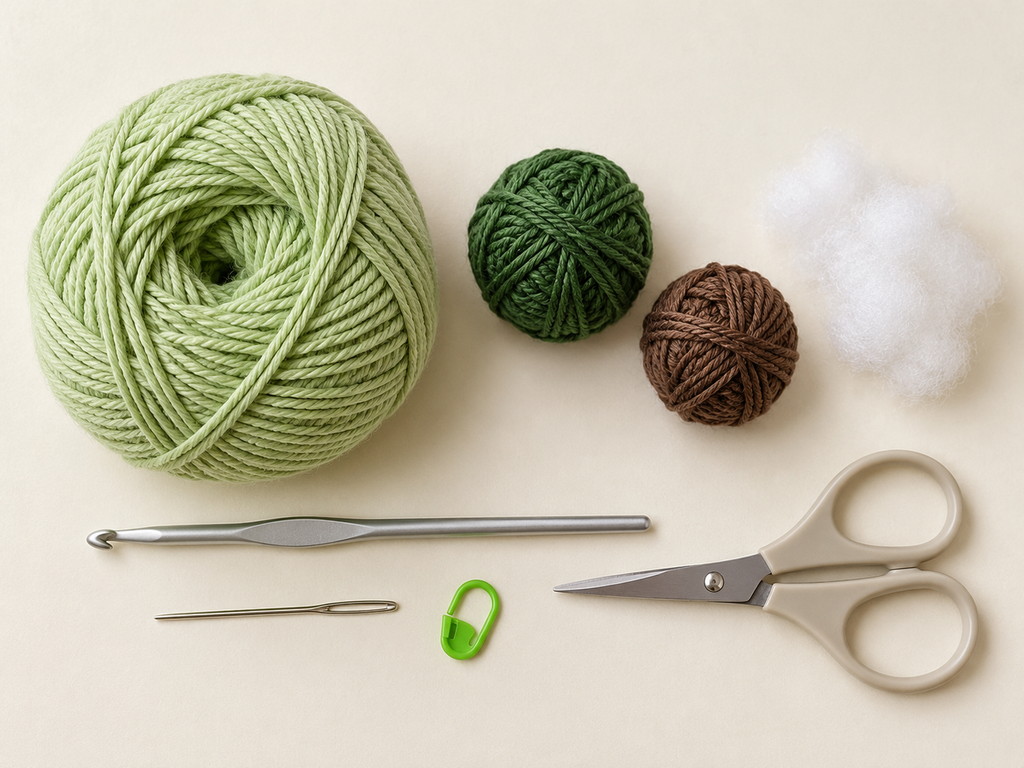
- Light green or yellow yarn for the body
- Brown yarn for the stem
- Green yarn for the leaf
- Crochet hook suitable for your yarn
- Polyester fiberfill
- Stitch marker
- Yarn needle
- Scissors
For a first sample, try smooth DK-weight cotton yarn with a 2.5 mm hook. Adjust the hook size if you can see gaps between the stitches.
Use the same yarn weight for the body, stem and leaf. A darker green leaf can provide contrast against a pale green body.
Crochet Abbreviations
| Abbreviation | Meaning |
|---|---|
| MR | Magic ring |
| ch | Chain |
| sc | Single crochet |
| hdc | Half double crochet |
| dc | Double crochet |
| sl st | Slip stitch |
| inc | Work 2 sc in the same stitch |
| dec | Decrease 2 stitches into 1 |
Repeat instructions in parentheses the stated number of times. Numbers in brackets indicate the stitch count at the end of the round.
For an invisible decrease, insert your hook through the front loops of the next two stitches. Yarn over and pull through both front loops, then yarn over and pull through the remaining two loops.
Before You Begin
Work the pear body in a continuous spiral. Do not join the rounds or chain between them.
Place a marker in the first stitch of each round and move it as you progress.
The starting magic ring forms the bottom of the pear. The final rounds form its narrow top.
Pear Body
Using your chosen body color:
| Round | Instructions | Stitch count |
|---|---|---|
| 1 | Work 6 sc into a MR | 6 |
| 2 | Inc in each stitch around | 12 |
| 3 | (1 sc, inc) × 6 | 18 |
| 4 | (2 sc, inc) × 6 | 24 |
| 5 | (3 sc, inc) × 6 | 30 |
| 6 | (4 sc, inc) × 6 | 36 |
| 7–11 | Sc in each stitch around for 5 rounds | 36 |
| 12 | (4 sc, dec) × 6 | 30 |
| 13 | Sc in each stitch around | 30 |
| 14 | (3 sc, dec) × 6 | 24 |
| 15 | Sc in each stitch around | 24 |
| 16 | (2 sc, dec) × 6 | 18 |
| 17–19 | Sc in each stitch around for 3 rounds | 18 |
| 20 | (1 sc, dec) × 6 | 12 |
| 21 | Sc in each stitch around | 12 |
| 22 | Dec × 6 | 6 |
Stuff the Body
Begin stuffing after Round 16, while the opening is still wide enough to reach the lower section.
Add small amounts of fiberfill and distribute them evenly around the rounded base. Continue filling the upper section as you work.
Finish stuffing before Round 22. Keep the base fuller than the narrow top, without stretching the stitches.
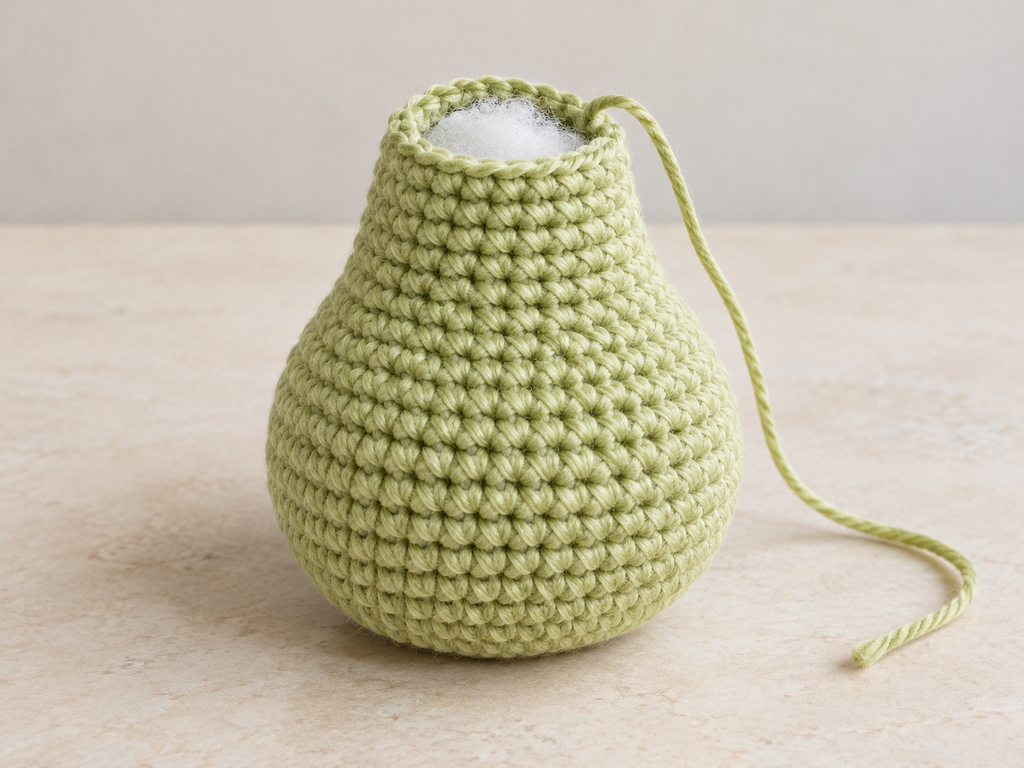
Close the Top
After Round 22, cut the yarn, leaving a tail.
Thread the tail through the front loops of the remaining six stitches and pull the opening closed. Secure the yarn and weave in the end.
Gently shape the pear with your fingers. Keep the lower section rounded and the upper section narrower.
Testing note: Confirm that the sample has a smooth pear silhouette. Revise the number of plain rounds if the upper section looks too long or the body appears too squat.
Brown Stem
Using brown yarn, leave a starting tail for sewing.
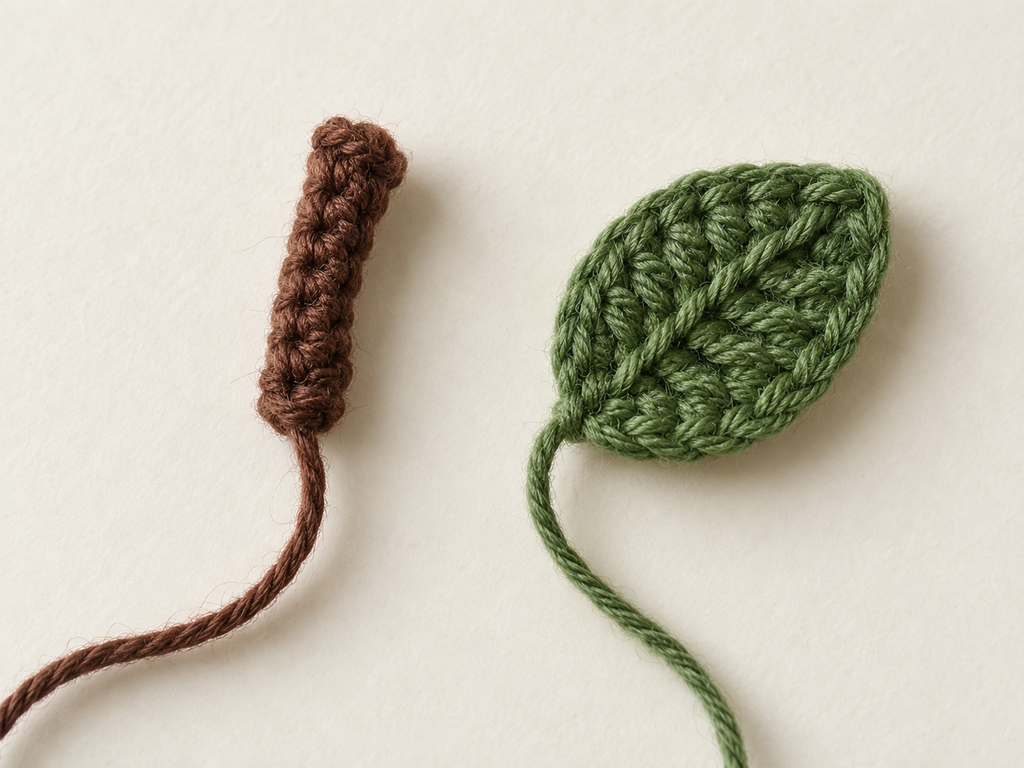
- Ch 6.
- Starting in the second chain from the hook, work 1 sl st into each remaining chain: 5 sl sts.
- Fasten off and weave in the ending tail.
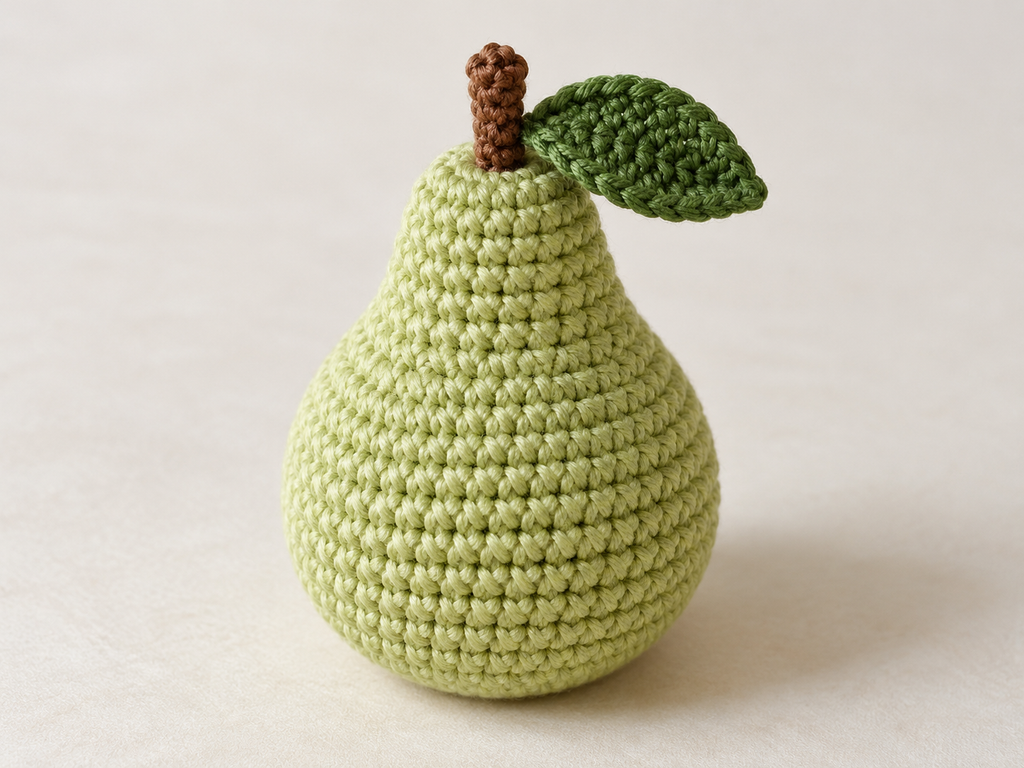
Use the starting tail to sew one end of the stem into the center of the pear’s closed top. Take several small stitches through the stem base and body fabric.
Secure the yarn and weave in the remaining tail.
Green Leaf
Using green yarn:
- Ch 7.
- Starting in the second chain from the hook, work: 1 sc, 1 hdc, 1 dc, 1 dc, 1 hdc, 1 sc.
- Ch 1 and rotate the piece to work along the unused loops on the opposite side of the foundation chain.
- Work back toward the starting end: 1 sc, 1 hdc, 1 dc, 1 dc, 1 hdc, 1 sc.
- Sl st into the first sc.
The leaf has 12 stitches around its outline, excluding the turning chain and joining slip stitch.
Fasten off, leaving a sewing tail. Weave in the starting tail.
Attach the Leaf
Position one end of the leaf beside the stem. Sew through the leaf base and several stitches of the pear body.
Leave the rest of the leaf free so it sits naturally beside the stem. Secure the yarn and weave in the tail.
Tips for a Neat Finish
- Count each decrease round. These rounds create the narrowing shape.
- Fill the base evenly. Uneven stuffing can make one side bulge.
- Avoid overfilling the top. It should remain slimmer than the lower section.
- Keep attachments compact. A few secure stitches at each base should hold the stem and leaf.
- Check the side view. The transition from the rounded base to the top should be smooth.
Variations
Golden pear: Use warm yellow yarn with a dark green leaf.
Single-color finish: Omit the leaf and keep the brown stem for a simpler design.
Embroidered face: Add small embroidered features to the broad lower section before stuffing and closing.
Different size: Experiment with another yarn weight and suitable hook, then check the proportions and stuffing requirements on a sample.
Frequently Asked Questions
Does this pear need yarn sculpting?
This draft uses crochet shaping to form the wider base and narrower top. No separate sculpting strand is included.
Why does my pear look like a bottle?
The upper section may be too long for your yarn and tension. Check the round count first, then evaluate the proportions during sample testing.
Is this a no-sew pattern?
No. The body is made in one piece, but the stem and leaf are sewn onto it.
Can I make the pear without a leaf?
Yes. The leaf is decorative and does not affect the body construction.
Why can I see the stuffing?
Try a smaller hook, maintain consistent tension and avoid packing too much filling into the body.
Add It to Your Crochet Fruit Collection
Pair your pear with crocheted lemons, cherries, bananas or peaches for a coordinated fruit collection. After testing, record its finished measurements, yarn usage and any adjustments before preparing a printable PDF.
Looking for more inspiration? Browse all crochet patterns →