
Easy Crochet Strawberry Pattern
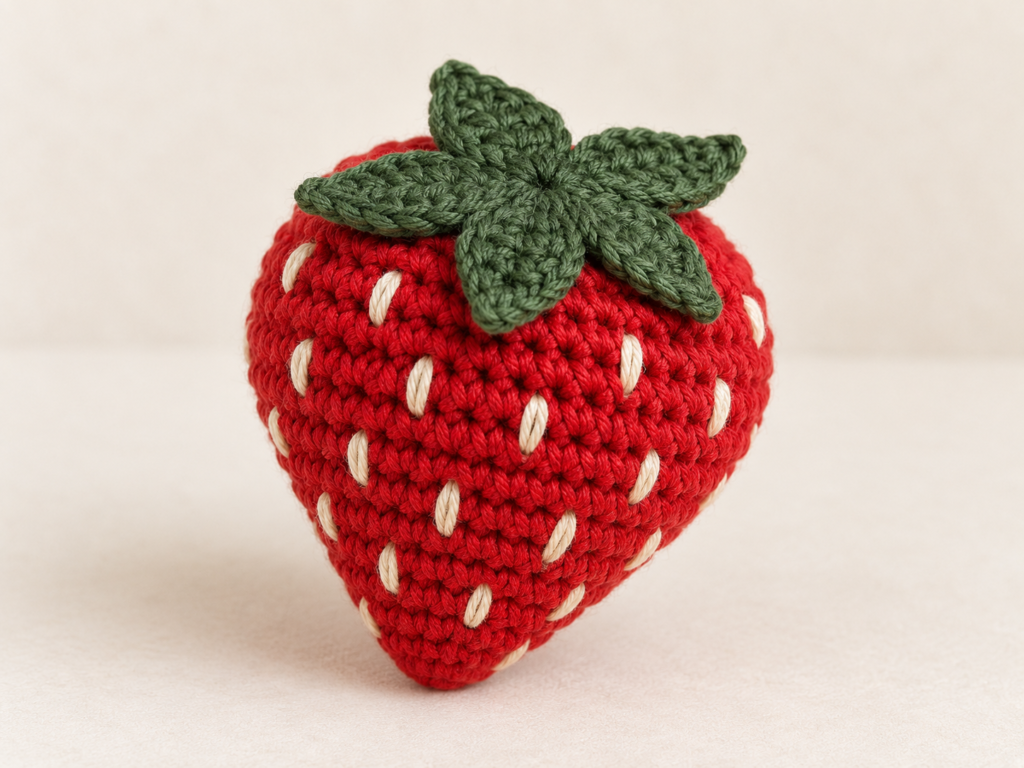
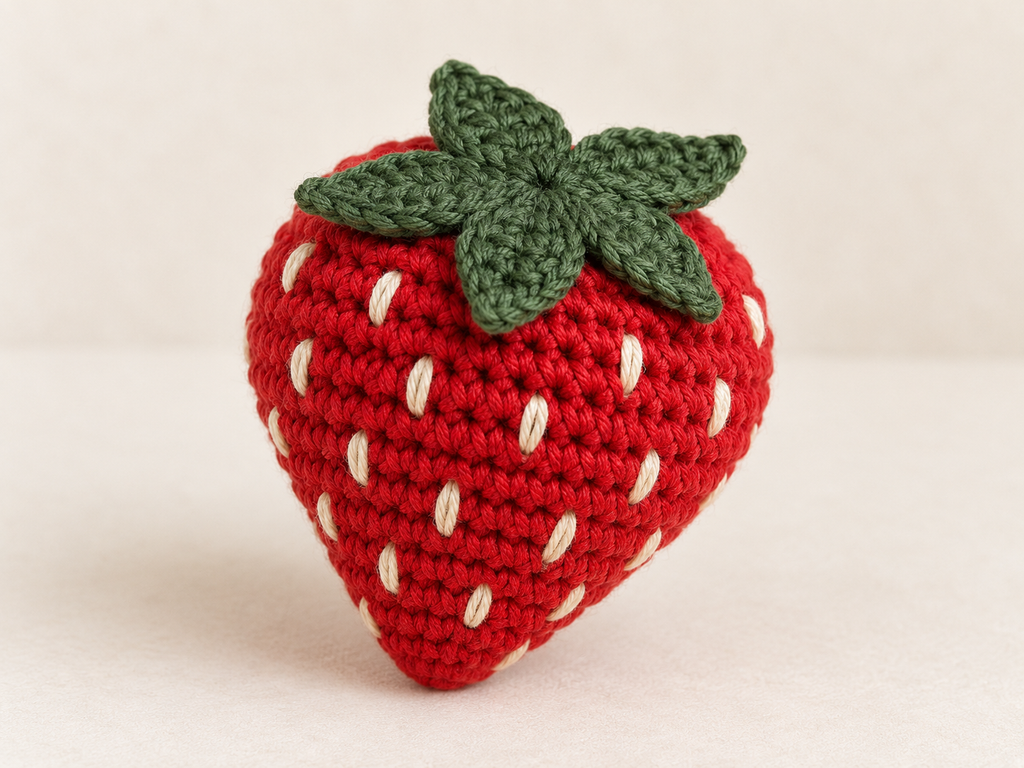
A little crochet strawberry adds a lovely pop of red to an amigurumi fruit collection. This design combines a rounded upper body, a gently tapered tip, embroidered seeds, and a separate green leafy cap.
Work the strawberry in continuous rounds, then sew the leaves onto the top. You can make one as a small decoration or create several for a crochet fruit basket.
Pattern status: This is an original, untested draft. The stitch counts have been checked, but the shape and assembly need a physical sample before publication as a tested pattern or sale as a PDF. Finished dimensions and yarn quantities are not yet confirmed.
Pattern Details
| Detail | Information |
|---|---|
| Skill level | Beginner with basic amigurumi experience |
| Terminology | US crochet terms |
| Construction | Body worked from the top toward the pointed bottom |
| Assembly | Embroider seeds and sew on the leafy cap |
| Main techniques | Magic ring, single crochet, increases, invisible decreases |
Materials
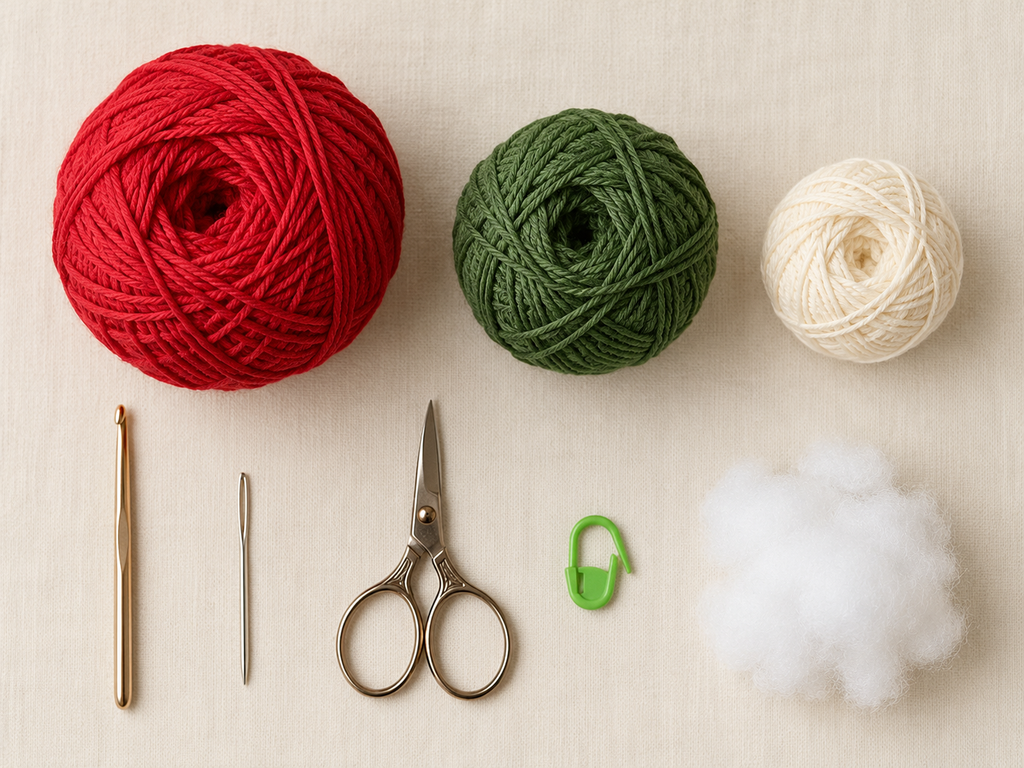
- Red cotton yarn for the strawberry
- Green cotton yarn for the leafy cap
- Cream or pale yellow yarn for the seeds
- A crochet hook that produces a firm fabric with your chosen yarn
- Polyester fiberfill
- Yarn needle
- Stitch marker
- Scissors
For a first sample, try DK cotton yarn with a 2.5–3 mm hook. Adjust the hook size if stuffing shows through the stitches.
Use a thinner strand of yarn for the seeds if your main yarn makes them look too bulky.
Abbreviations
| Abbreviation | Meaning |
|---|---|
| MR | Magic ring |
| ch | Chain |
| sc | Single crochet |
| hdc | Half double crochet |
| dc | Double crochet |
| sl st | Slip stitch |
| inc | Work 2 single crochets into one stitch |
| dec | Invisible single crochet decrease |
| st / sts | Stitch / stitches |
Instructions in parentheses are repeated as indicated. The number at the end of each round is the total stitch count.
Before You Begin
Work the body in a continuous spiral without joining the rounds. Place a stitch marker in the first stitch of each round and move it as you work.
The magic ring forms the top of the strawberry, beneath the green cap. The final decreases form the bottom tip.
Keep your tension consistent. Stuffing should support the shape without stretching the fabric.
Easy Crochet Strawberry Pattern
1. Make the Strawberry Body
Using red yarn:
| Round | Instructions | Stitch count |
|---|---|---|
| 1 | Work 6 sc into an MR | 6 |
| 2 | Inc in every stitch | 12 |
| 3 | (Sc, inc) × 6 | 18 |
| 4 | (2 sc, inc) × 6 | 24 |
| 5 | (3 sc, inc) × 6 | 30 |
| 6 | (4 sc, inc) × 6 | 36 |
| 7–9 | Sc in every stitch for 3 rounds | 36 |
| 10 | (4 sc, dec) × 6 | 30 |
| 11 | Sc in every stitch | 30 |
| 12 | (3 sc, dec) × 6 | 24 |
| 13 | Sc in every stitch | 24 |
| 14 | (2 sc, dec) × 6 | 18 |
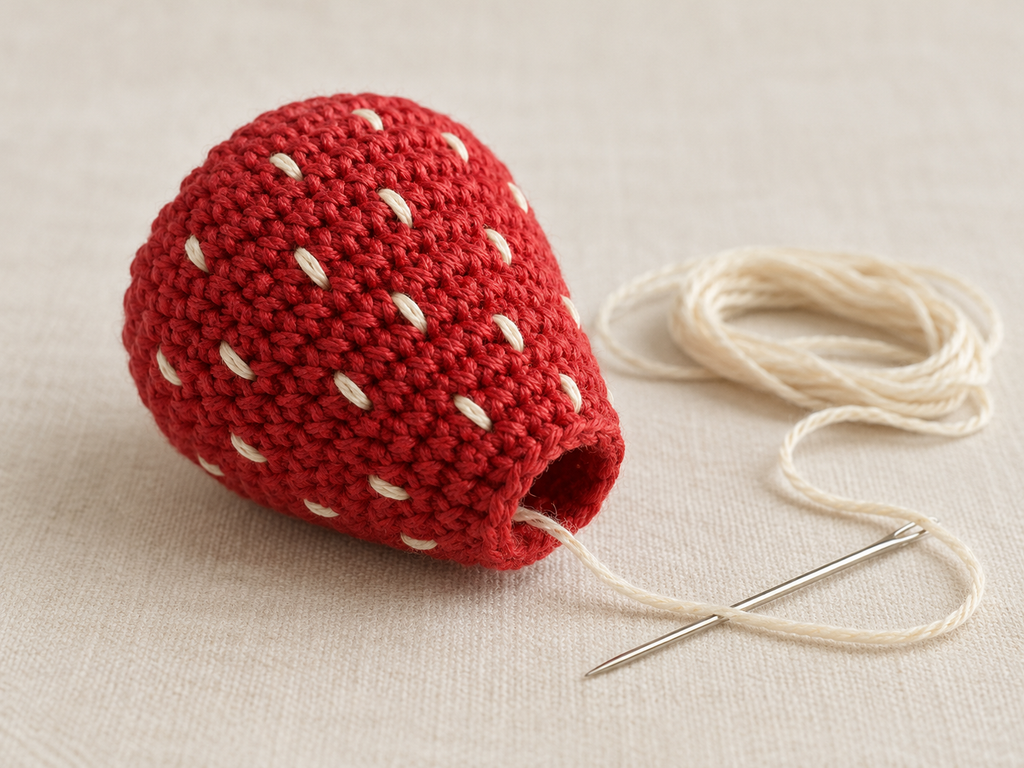
Pause here to embroider the seeds while you can still reach inside the body.
2. Embroider the Seeds
Thread your needle with cream or pale yellow yarn.
Make small, short stitches across the red body. Each seed should span roughly one crochet stitch or one round, depending on your yarn.
Arrange the seeds in staggered rows so they look scattered rather than lined up. Leave some space around the magic ring, where the green cap will sit.
Secure the embroidery ends inside the body without pulling tightly enough to dent the fabric.
You can add a few seeds near the bottom after closing the strawberry if needed.
3. Stuff and Finish the Body
Add fiberfill in small amounts. Keep the upper section rounded and guide the lower section into a gentle taper.
Continue with red yarn:
| Round | Instructions | Stitch count |
|---|---|---|
| 15 | (Sc, dec) × 6 | 12 |
| 16 | (2 sc, dec) × 3 | 9 |
| 17 | (Sc, dec) × 3 | 6 |
Add a little more stuffing before the final round if necessary. Avoid packing the tip so firmly that it becomes blunt.
Fasten off, leaving a sewing tail. Thread the tail through the front loops of the remaining 6 stitches, pull the opening closed, and weave the end into the body.
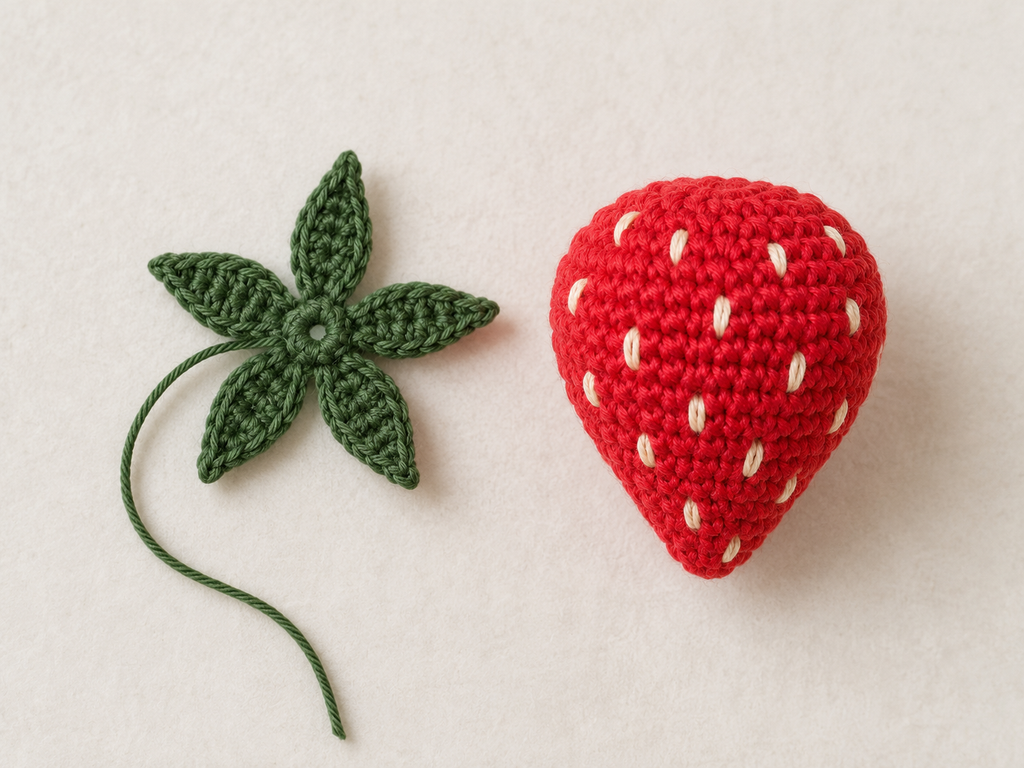
4. Make the Green Leafy Cap
Using green yarn:
Center: Work 5 sc into an MR. Pull the ring closed and sl st into the first sc.
Now make five leaves:
- Ch 5.
- Starting in the second chain from the hook, work sl st, sc, hdc, dc along the chain.
- Sl st into the next sc of the center ring to anchor the leaf.
Repeat these three steps 5 times in total. The fifth leaf anchors into the first center stitch, completing the circle.
Each leaf has 4 worked stitches; the anchoring slip stitch is separate.
Fasten off, leaving a long tail for sewing. Weave in the magic-ring tail.
5. Attach the Leafy Cap
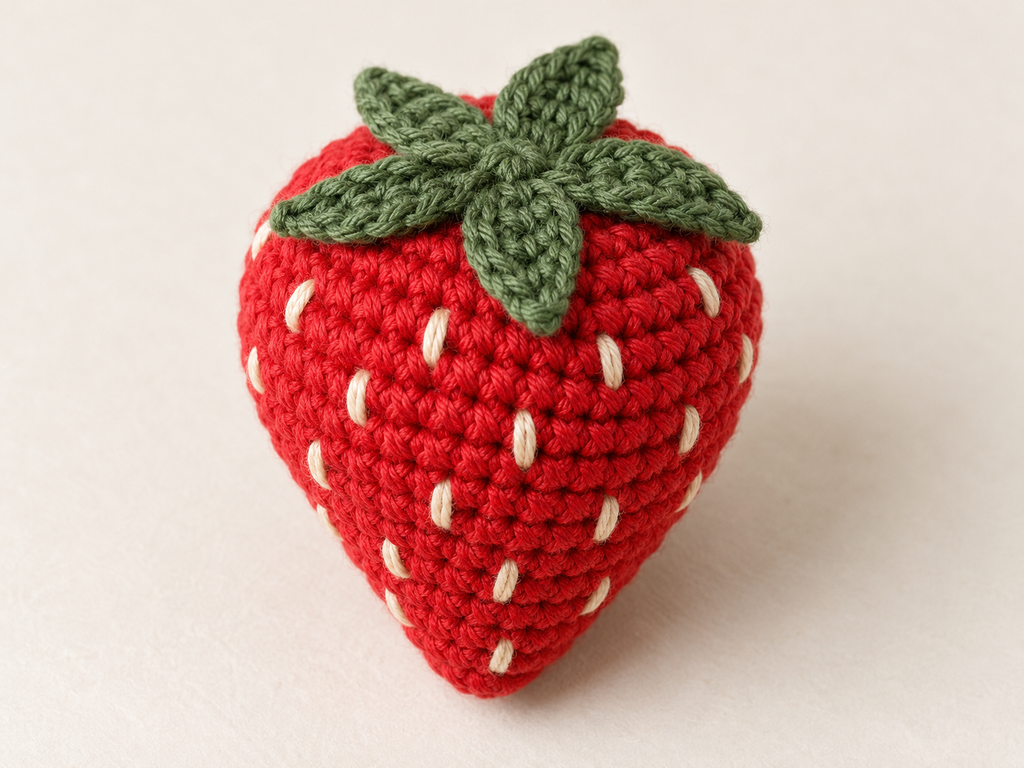
Position the center of the cap over the body’s magic ring.
Spread the five leaves around the top. Use the green sewing tail to attach the center securely, then make a small anchoring stitch near the base of each leaf.
Leave the leaf tips free so they sit naturally against the strawberry. Weave in the remaining yarn.
Tips for a Neat Finish
- Count every round. Missing a decrease can interrupt the tapered shape.
- Keep the seeds short. Long embroidery stitches can catch or look like stripes.
- Stuff gradually. Small pieces of fiberfill are easier to distribute evenly.
- Check the cap before sewing. Its size will vary with yarn and tension.
- Use the same yarn weight for the body and cap when making your first sample.
Common Problems
| Problem | What to check |
|---|---|
| Stuffing shows through | Try a smaller hook or reduce the stuffing |
| Body looks dented | Loosen tight embroidery and redistribute the filling |
| Bottom looks too round | Reduce stuffing at the tip and check the decrease rounds |
| Leaves curl strongly | Check chain tension and gently flatten the cap before attaching |
| Cap looks oversized | Try a smaller hook for the green piece |
Strawberry Variations
Once you have tested the basic pattern, try:
- Pink strawberry: Replace red with pink and use cream seeds.
- Mini strawberry: Use finer yarn and a smaller hook.
- Fruit basket set: Pair it with your crochet lemon, cherry, banana, peach, and pear.
- Decorative garland: Make several strawberries and attach them securely to a crocheted cord.
Changing yarn weight changes the finished size, so measure each version rather than relying on an estimated size.
Frequently Asked Questions
Is this a no-sew crochet strawberry?
No. The leafy cap is made separately and sewn onto the body. The seeds are embroidered.
Can I embroider the seeds after stuffing?
Yes, although embroidering before stuffing makes it easier to secure the ends inside. After stuffing, take care not to pull the yarn so tightly that it distorts the body.
Do I need safety eyes?
No. This design uses embroidered seeds and has no face.
Can I use plush yarn?
You can try it, but plush yarn makes stitches harder to see and changes the proportions. Test the pattern with smooth cotton first.
How big is the finished strawberry?
The size depends on yarn, hook, tension, and stuffing. A finished measurement will be added after the sample is made and checked.
Finish Your Crochet Strawberry
Check that the cap is secure, the seeds are tidy, and all yarn ends are hidden. Your strawberry can join a growing collection of crochet fruit or become a small handmade decoration.
Before publishing or selling this pattern: Crochet a complete sample, confirm the strawberry shape and leaf-cap fit, record its dimensions and yarn usage, and replace the instructional image placeholders with photographs of that sample.
Looking for more inspiration? Browse all crochet patterns →