Banana Amigurumi Pattern: A Cute Crochet Banana
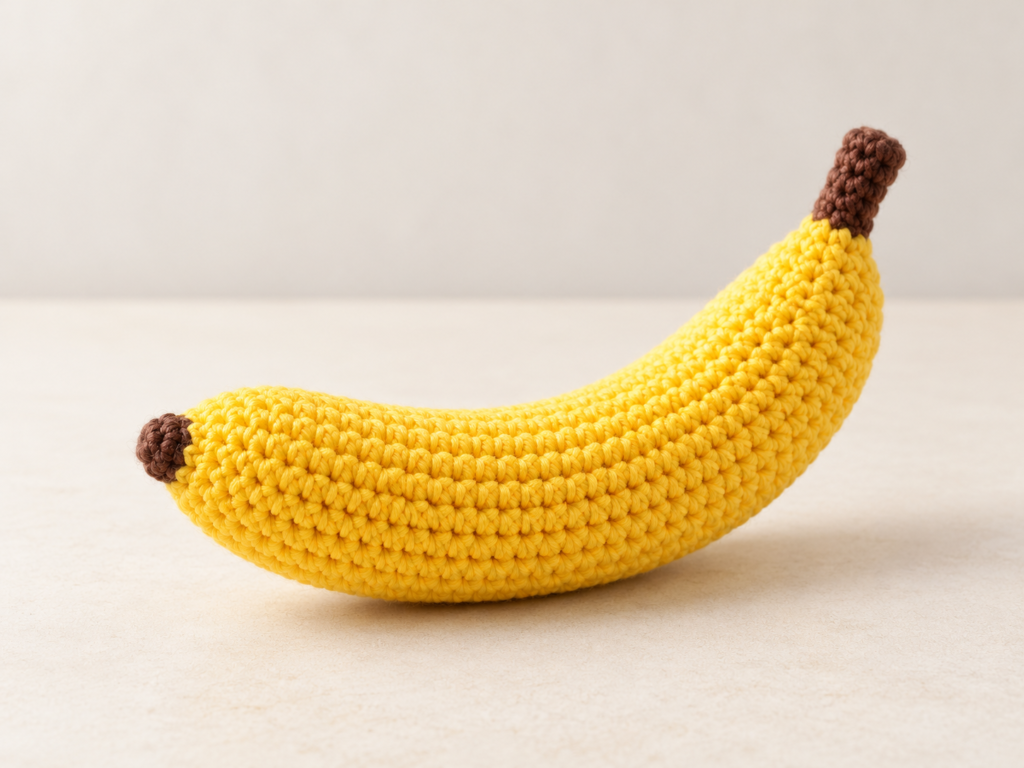
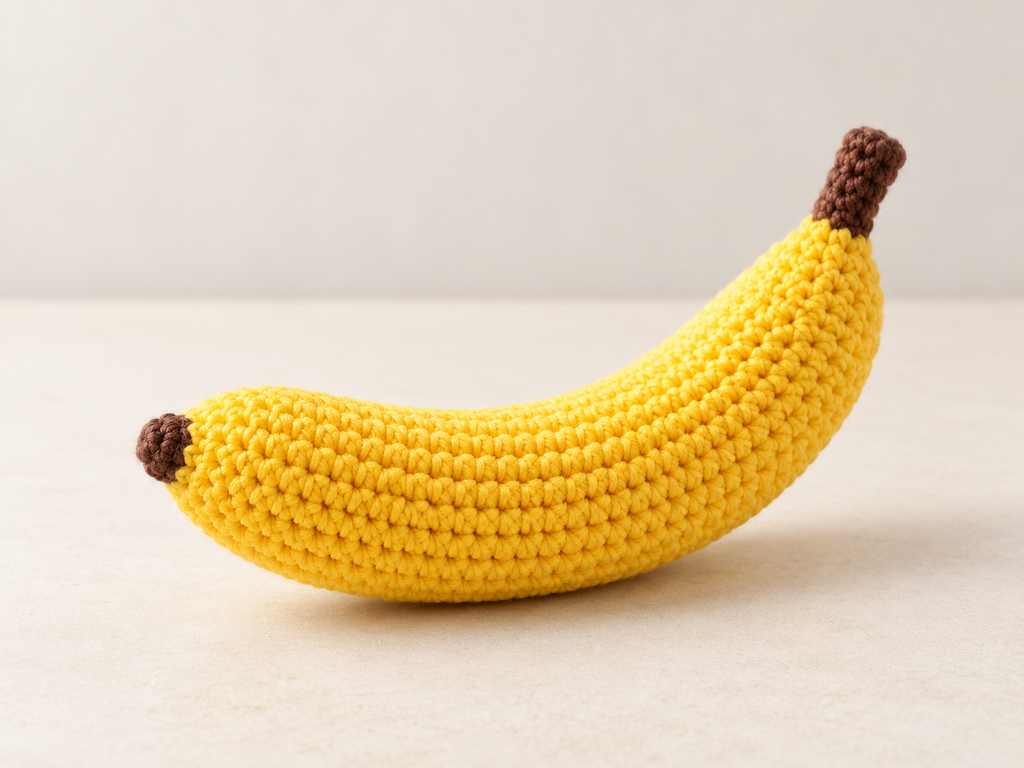
Add a little yellow banana to your crochet fruit collection. This banana amigurumi pattern creates a closed, stuffed banana with brown ends and a gently curved body.
The body is crocheted in one piece using continuous rounds. After stuffing and closing it, a concealed yellow yarn strand helps hold the curve. There are no separate peel sections to attach.
Pattern status: Untested draft. Finished measurements, yarn usage and the shaping method are pending sample testing.
Project Details
| Detail | Information |
|---|---|
| Skill level | Beginner with experience working in rounds |
| Terminology | US crochet terms |
| Construction | One stuffed body with brown ends |
| Main techniques | Magic ring, single crochet, increases, decreases and yarn sculpting |
| Finished size | Depends on yarn and tension; pending testing |
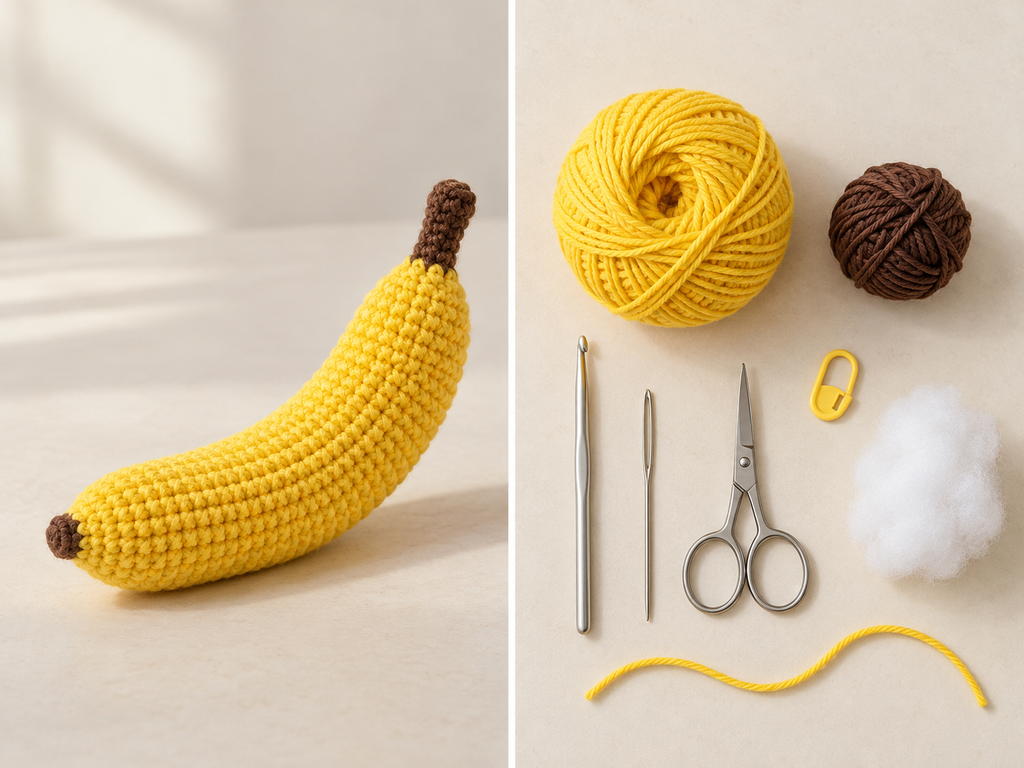
Materials
- Yellow yarn for the banana body
- Brown yarn for both ends
- Crochet hook suitable for your yarn
- Polyester fiberfill
- Stitch marker
- Long yarn needle suitable for sculpting
- Scissors
- A separate length of yellow yarn for shaping
For a first sample, try smooth DK-weight cotton yarn and a 2.5 mm hook. Adjust your hook size to produce firm stitches that keep the stuffing inside.
Use the same yarn weight for the yellow and brown sections.
Crochet Abbreviations
| Abbreviation | Meaning |
|---|---|
| MR | Magic ring |
| sc | Single crochet |
| inc | Work 2 sc in the same stitch |
| dec | Decrease 2 stitches into 1 |
| st | Stitch |
Repeat instructions in parentheses the stated number of times. Numbers in brackets indicate the stitch count at the end of the round.
An invisible decrease can make the surface smoother: insert your hook through the front loops of the next two stitches, yarn over and pull through both front loops, then yarn over and pull through the remaining two loops.
Before You Begin
Work in a continuous spiral. Do not join rounds or chain between them.
Mark the first stitch of each round and move the marker as you progress.
The banana begins at the short brown blossom tip and finishes at the brown stem. The crocheted body will initially look like a tapered tube; its curve is added during finishing.
Banana Body
Start with brown yarn:
| Round | Instructions | Stitch count |
|---|---|---|
| 1 | Work 6 sc into a MR | 6 |
| 2 | Sc in each stitch around | 6 |
| 3 | Change to yellow. (1 sc, inc) × 3 | 9 |
| 4 | (2 sc, inc) × 3 | 12 |
| 5 | (3 sc, inc) × 3 | 15 |
| 6 | (4 sc, inc) × 3 | 18 |
| 7 | (5 sc, inc) × 3 | 21 |
| 8–20 | Sc in each stitch around for 13 rounds | 21 |
| 21 | (5 sc, dec) × 3 | 18 |
| 22 | (4 sc, dec) × 3 | 15 |
| 23 | (3 sc, dec) × 3 | 12 |
| 24 | (2 sc, dec) × 3 | 9 |
| 25 | (1 sc, dec) × 3 | 6 |
| 26–28 | Change to brown. Sc around for 3 rounds | 6 |
Stuff as You Work
Begin adding small amounts of stuffing around Round 12. Use the blunt end of a suitable tool to distribute it toward the starting tip without stretching the stitches.
Continue stuffing gradually as the body grows. Keep it evenly filled but flexible enough to bend.
Finish stuffing the main body before Round 25. Add only a little filling to the stem if needed.
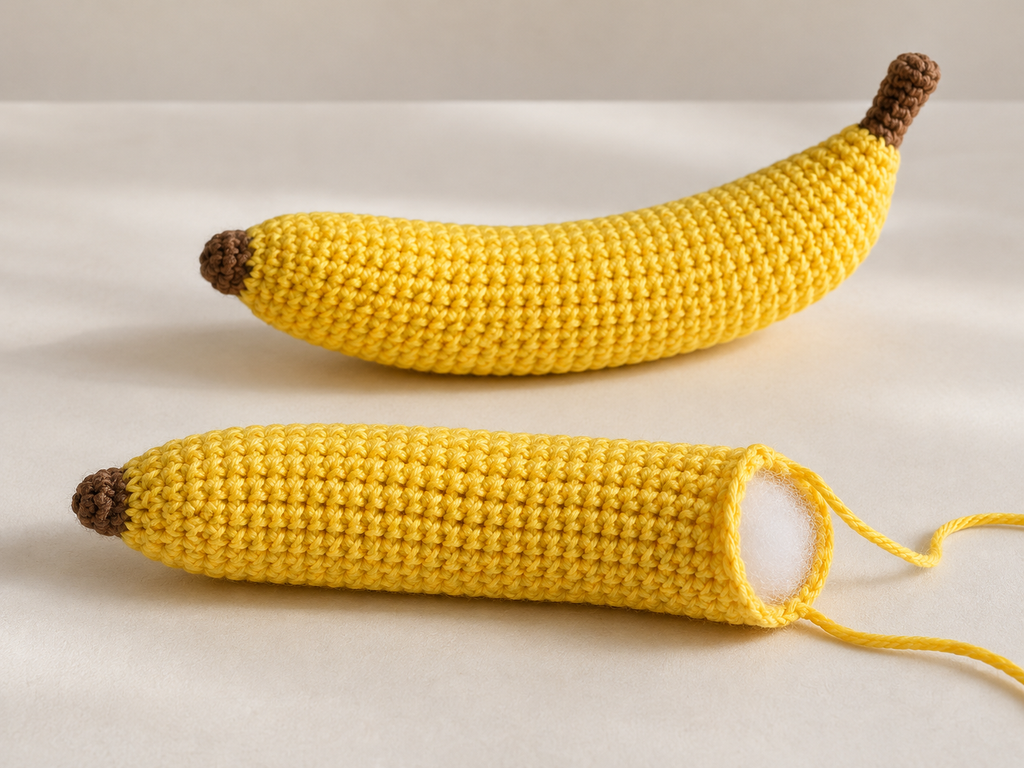
Close the Stem
After Round 28, cut the yarn, leaving a tail.
Thread the tail through the front loops of the remaining six stitches. Pull the opening closed, secure the yarn and weave in the end.
Shape the Banana
The curve is created by gently shortening one side of the stuffed body with a concealed yarn strand.
- Bend the banana into a shallow curve. Choose the side that will become the shorter, inside edge.
- Thread a separate length of yellow yarn onto your needle.
- Anchor the yarn with a small stitch on the yellow body near the blossom tip. Leave a tail for securing later.
- Pass the needle through the stuffing, staying beneath the chosen inside edge, toward the yellow section near the stem.
- Take a small anchoring stitch at that end.
- Return through the stuffing along a nearby path to the starting point.
- Pull both yarn ends gradually while supporting the banana in a gentle curve.
- Secure the ends and bury them inside the body.
The shaping strand should remain concealed. If a visible crease forms, loosen the tension and redistribute the filling.
Testing note: This sculpting method needs verification on a physical sample. If it compresses the banana rather than producing a smooth curve, revise the shaping or body construction before publishing.
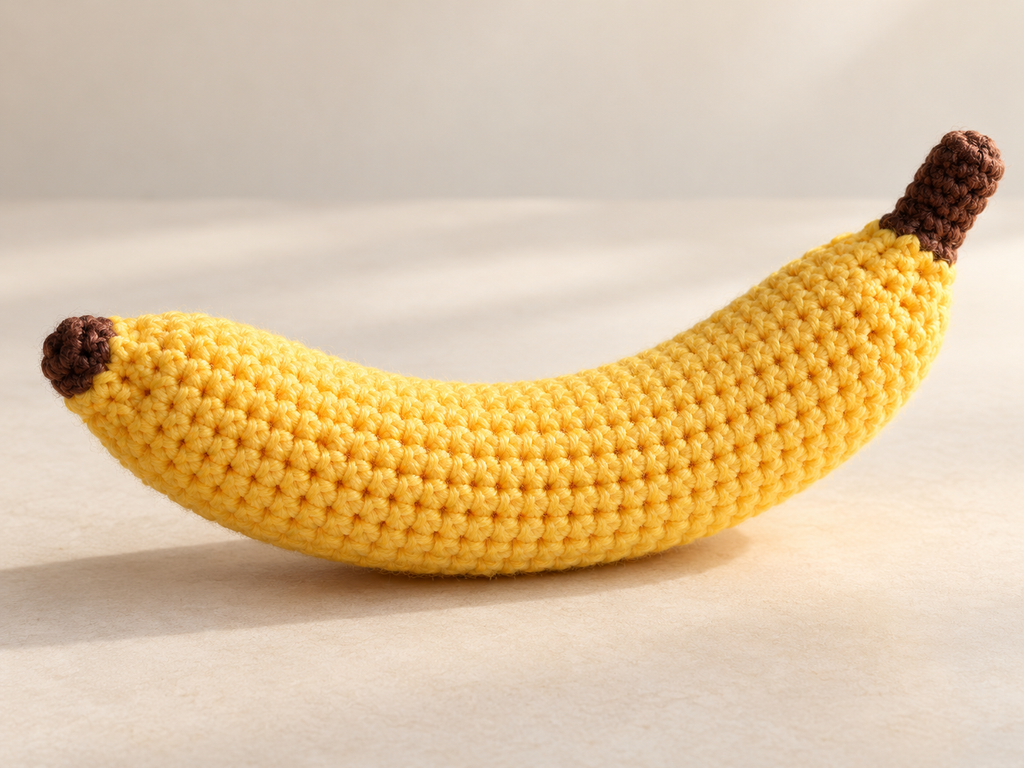
Tips for a Neat Finish
- Keep the filling flexible. A rigidly stuffed body is harder to shape.
- Use a shallow curve. Pulling too tightly can shorten or wrinkle the banana.
- Check the color changes. Keep them tidy and weave in the ends securely.
- Count the shaping rounds. The increases and decreases determine the taper.
- Check the finished profile. Photograph the sample from both sides to confirm an even shape.
Variations
Change the Yellow Shade
Choose a bright yellow for a fresh-looking banana or a softer golden shade for a warmer finish.
Add Embroidered Speckles
After shaping, use brown yarn to add a few short, scattered stitches along the body. Keep the details subtle so the yellow surface remains visible.
Make a Different Size
A different yarn weight and suitable hook will change the size. The amount of filling and sculpting tension will need adjusting too.
This pattern makes a closed banana. A peeled banana requires a different construction and separate instructions.
Frequently Asked Questions
Will the crochet instructions create the curve by themselves?
No. These rounds create a tapered body. The finishing strand is intended to hold a gentle curve, but that method still needs sample testing.
Why does my banana look like a straight tube?
Check that you completed both tapered ends, then follow the shaping instructions. The long middle section is designed to be shaped after crocheting.
Why is the body wrinkling?
The sculpting strand may be too tight, or the stuffing may be uneven. Loosen the tension and gently massage the filling into place.
Can I leave out the brown ends?
Yes. Work those rounds in yellow instead. The brown sections are decorative and do not change the stitch counts.
Does this pattern need sewing?
There are no separate pieces to attach. You will still use a yarn needle to close the stem, shape the body and secure the ends.
Add It to Your Fruit Collection
Display your finished banana beside crocheted lemons and cherries for a colorful fruit collection. Once the sample has been tested, record its measurements, yarn usage and any shaping adjustments before preparing a printable PDF.
Looking for more inspiration? Browse all crochet patterns →